Blog
March 4, 2019
Virtualization can be time-consuming, especially in open source. But if you use Vagrant and VirtualBox, you can virtualize and save time.
In this blog, we give an overview of VirtualBox and Vagrant, how they can combine to form a virtual prototyping environment, and instructions for setting up your first lab.
Back to topWhat Is VirtualBox?
VirtualBox is an open source (GPL v2) virtualization platform that works on almost any base OS.
Your virtual machines will be hosted in this on top of your base OS, sharing its resources. For advanced users, it also has some command line, advanced networking capabilities, and integrates nicely with Vagrant.
Back to topWhat Is Vagrant?
Vagrant is a time-saving open source (MIT) tool from our friends at HashiCorp.
It allows for some fundamental integration and automation with platforms like VirtualBox, Microsoft Hyper-V, VMware, etc. In summary, this is a time-saving tool for standing up VMs faster, configuring them, adding packages to VMs, or integrating your virtual platforms with tools like Ansible.
Back to topWhy Use Vagrant and Virtualbox?
Building a software prototyping environment (aka lab) is far simpler than ever before. No longer do you have to wait to build a physical machine, then wait to download ISO images of the virtualization stuff, operating systems, software packages etc.
Simply use Vagrant and VirtualBox together. You'll have a highly functional lab for software development up fast with some added agility for prototyping infrastructure choices too.
Back to topBefore You Get Started With Vagrant and Virtualbox...
Note: There are a lot of platforms and starting points for this combination of features and software. For the instructions here, I am using a simple Windows 10 machine and the software available today.
- Windows 10/x64 OS • Hyper-V Disabled (it makes some system changes that break VirtualBox in most cases)
- 16GB RAM (you won’t be able to do much if you have less than this)
- Modern multi-core Intel/AMD CPU (4+ cores @2GHz+ is best)
- Internet connection (fun! you get to download a few things)
- Basic Powershell understanding (you need to know what it is and how to open it)
- Understanding of how to install software on a Windows OS
📕 Related Resource: Learn more about How to Use Bolt With PowerShell for Automation
Back to topHow to Use Vagrant and VirtualBox
Here's how to use Vagrant and VirtualBox.
1. Download the Software
First, you'll need to download Vagrant and VirtualBox
2. Install It
This is pretty simple. Nothing special here.
3. Set Up a Prerequisite Directory Structure
Once you have the two packages and any special dependencies installed, (estimated 10 minutes start to finish), you get to have some fun!
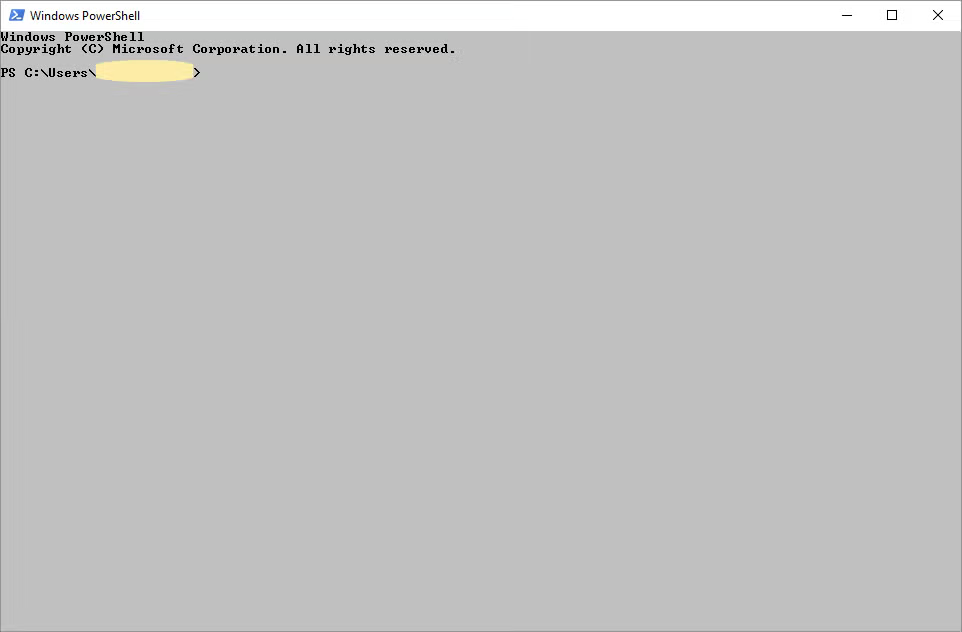
Open up Powershell:
Being about speed, I typically hit the Windows key and start typing power… see the little blue icon highlighted then hit Enter.
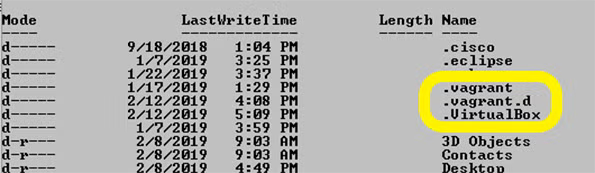
Confirm It Looks Right
If things installed nicely, you should see the highlighted “dot files” in your HOME directory.
Make a Directory For Your First Experiment
I choose vagrant_test as my directory name:
mkdir ~ /vagrant_test
Change to The Directory
cd ~ /vagrant_test

Back to topSupport For Vagrant, VirtualBox, and Beyond
OpenLogic provides everything you need to build and manage your open source solutions. Connect with an Enterprise Architect today to learn how we can support your open source solutions, including Vagrant and VirtualBox.
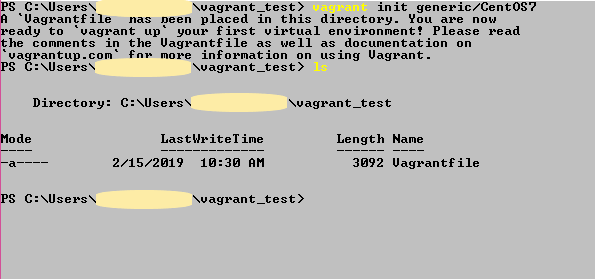
4. Run the Vagrant Init Command
This example initializes for a generic CentOS7 image from the community-curated generic repo.
vagrant init generic/CentOS7
Check That It Looks Right
You should see a new VagrantFile from the init command.
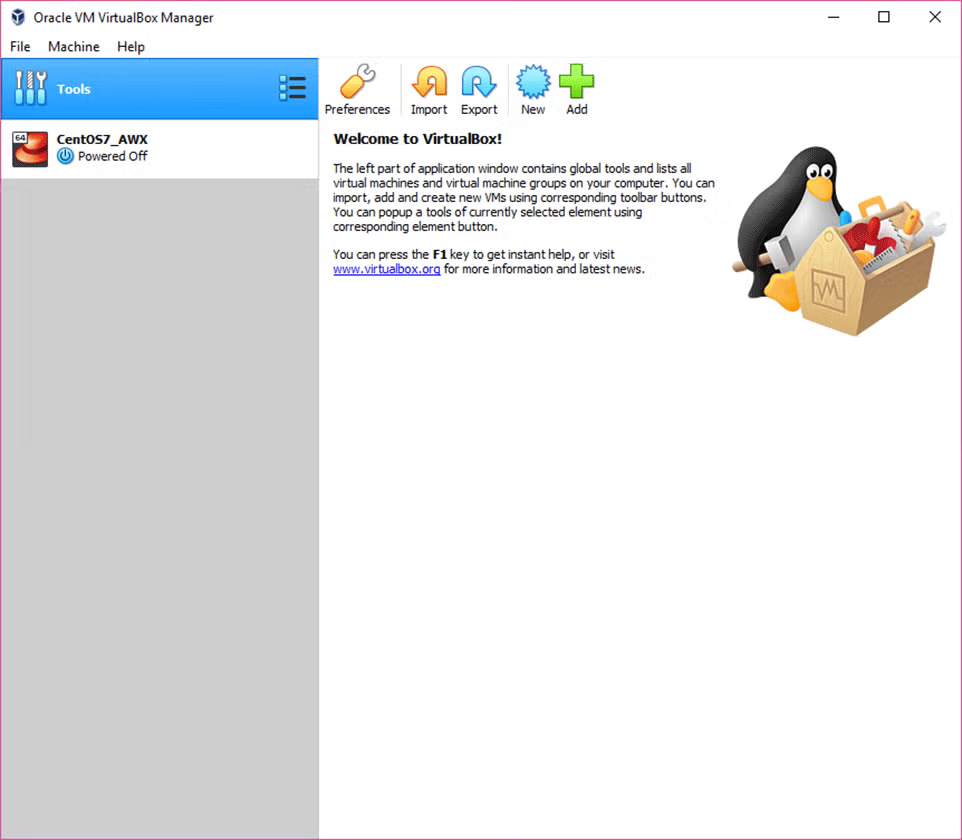
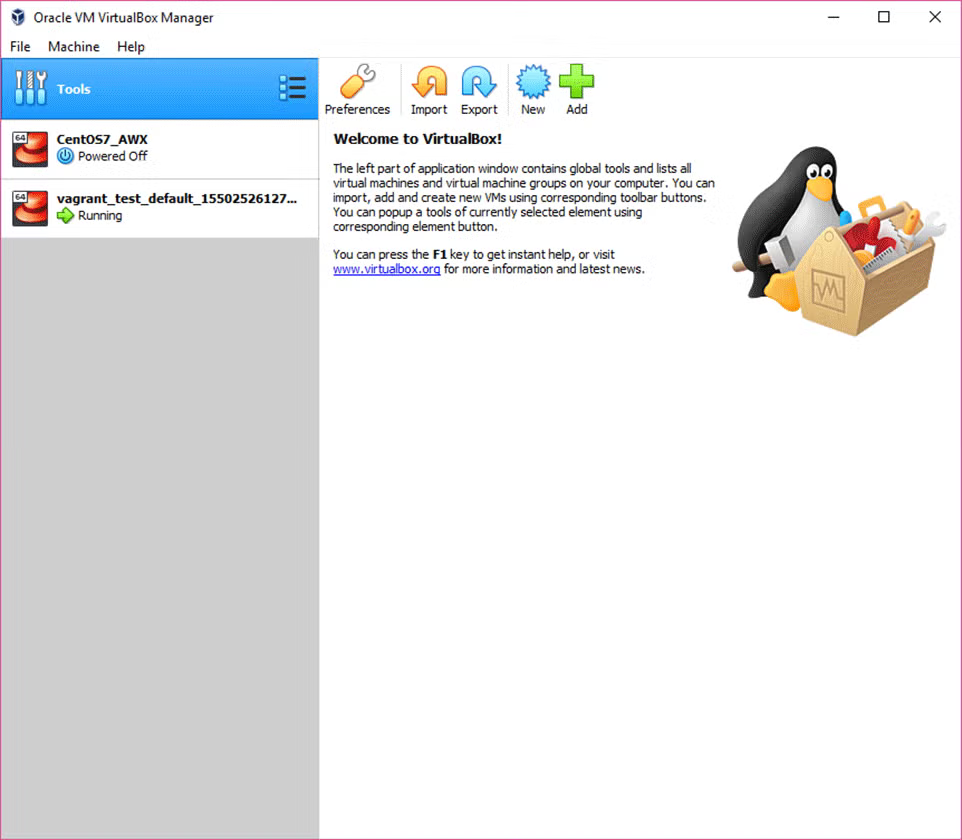
Make Sure VirtualBox Is Alive
I have another machine visible in the left pane in the screenshot but ignore that.
Try to “Up” the Vagrant Box
This makes a new VM from the VagrantFile and definitions we just “initialized” with that init command.
vagrant up
Watch It Do Some Magic
The unique hostname it creates based on the directory we are in (vagrant_test). This command run is the longest part of the process since vagrant is grabbing the image defined (from the internet), building a new VM and getting things all running—but—it is super-fast compared to a normal manual install + setup.
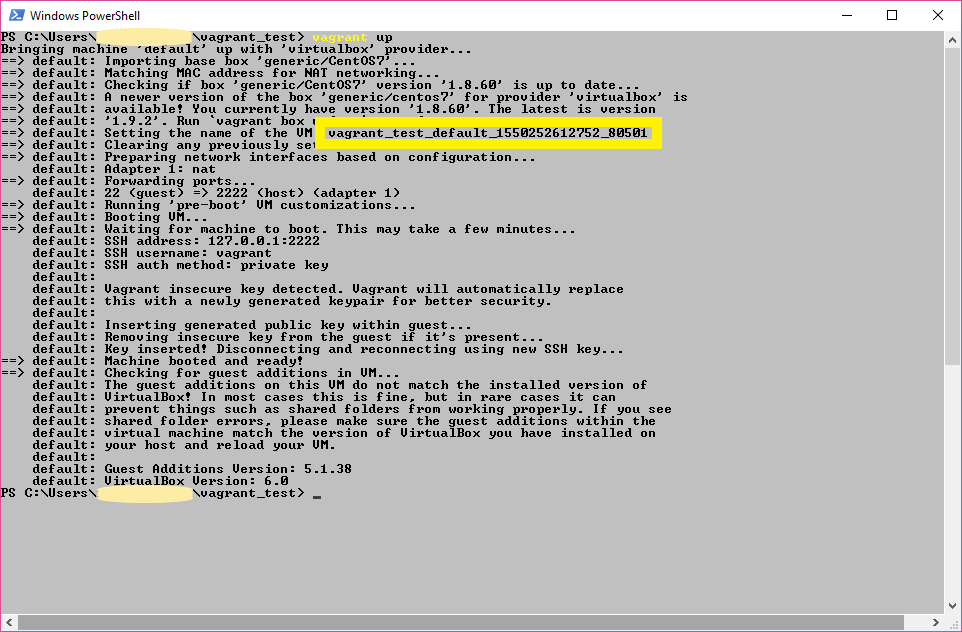
Note: The matching Vagrant VM Name from the previous step. It will create a unique name for each virtual machine you spin up with the VagrantFile.
5. Make Sure It All Works
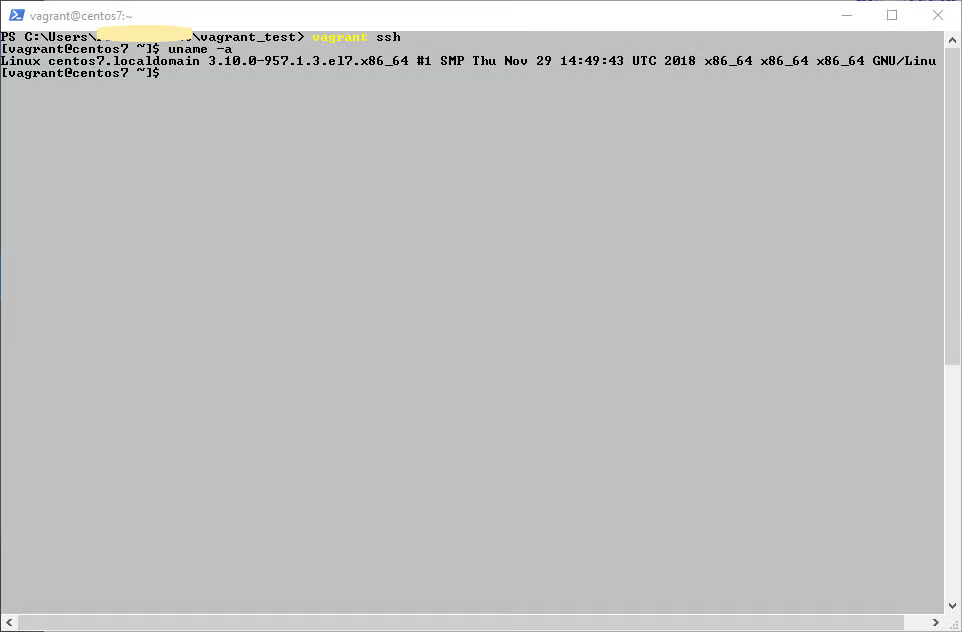
Connect to Your New VM With Vagrant SSH
This takes just a moment.
Note: This uses the VagrantFile and other items in the directory where you have been doing everything (vagrant_test) to make this happen. So, you don’t have to manually deal with SSH keys and external network connections like with Putty, etc.
vagrant ssh
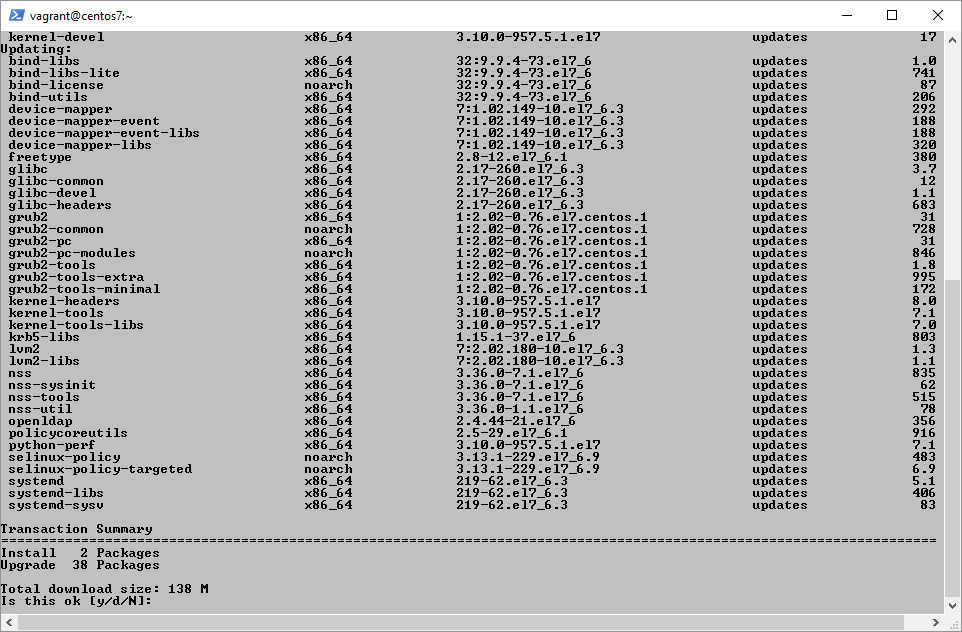
Confirm VM Networking Is Working
There are a lot of ways to do this, but I like to run “sudo yum update” to make sure I am current on CentOS box anyway.
sudo yum update
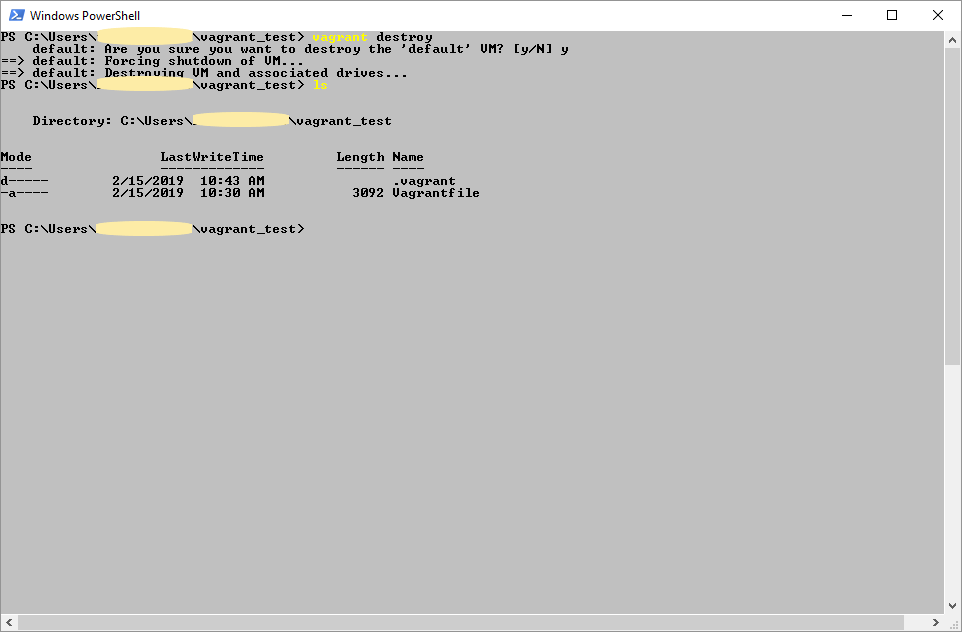
6. Use Vagrant Destroy to Clean Up
Keeping the environment clean is important since laptop equipment is pretty resource constrained in terms of CPU/RAM and storage capacity.
So, when you are done experimenting with your VM, “vagrant destroy” makes it super easy to clean up quickly.
This deletion process removes the VM and its storage/data but does not delete the VagrantFile that is used to spin up a new machine super-fast (with no data).
Destroy your VM!
Exit your Vagrant VM if you haven’t already.
Note: I execute this command from the same directory where I performed “vagrant up” earlier. The command warns you just in case but know this is going to blow up the VM and all of its data!
vagrant destroy
Back to top
Final Thoughts
This is just the beginning of using this combination of technologies. The combination of Vagrant and VirtualBox should save you lots of time.
Spinning up this CentOS box with Vagrant takes only a couple of minutes because of the automation and other human task elimination. This automated process compares favorably to a typical manual process: 5+ minutes best case to download, 10-15 minutes to install, more time to customize the OS for basic usage (SSH keys, etc.).
I expect I save at least 20 minutes per iteration of spinning up Linux machines in VMs on my laptop with this tooling versus manual methods.
This can equate to hours of productivity gains per day if you do a lot of prototyping like me. Obviously, this type of automation is a big deal in the world of DevOps also. This gets even more impressive when you layer in fancy stuff like Ansible and Kubernetes.